
The birds are chirping, the flowers are blooming, and the weather is warming. Why? Because springtime is here!
The arrival of spring means longer days, more time spent outdoors (resulting in more dirt tracked into your home), and you guessed it: spring cleaning. This annual home overhaul in springtime was not an arbitrary choice made to exasperate homeowners; in fact, its history dates back generations.
Before electricity, homes were lit using whale oil or kerosene heated with wood or coal. Because of this, homes were left with a layer of soot and grime in every room succeeding those long winter months. By the time spring came around, homeowners were ready to open their windows, let in some fresh air, and rid their houses of accumulated filth.
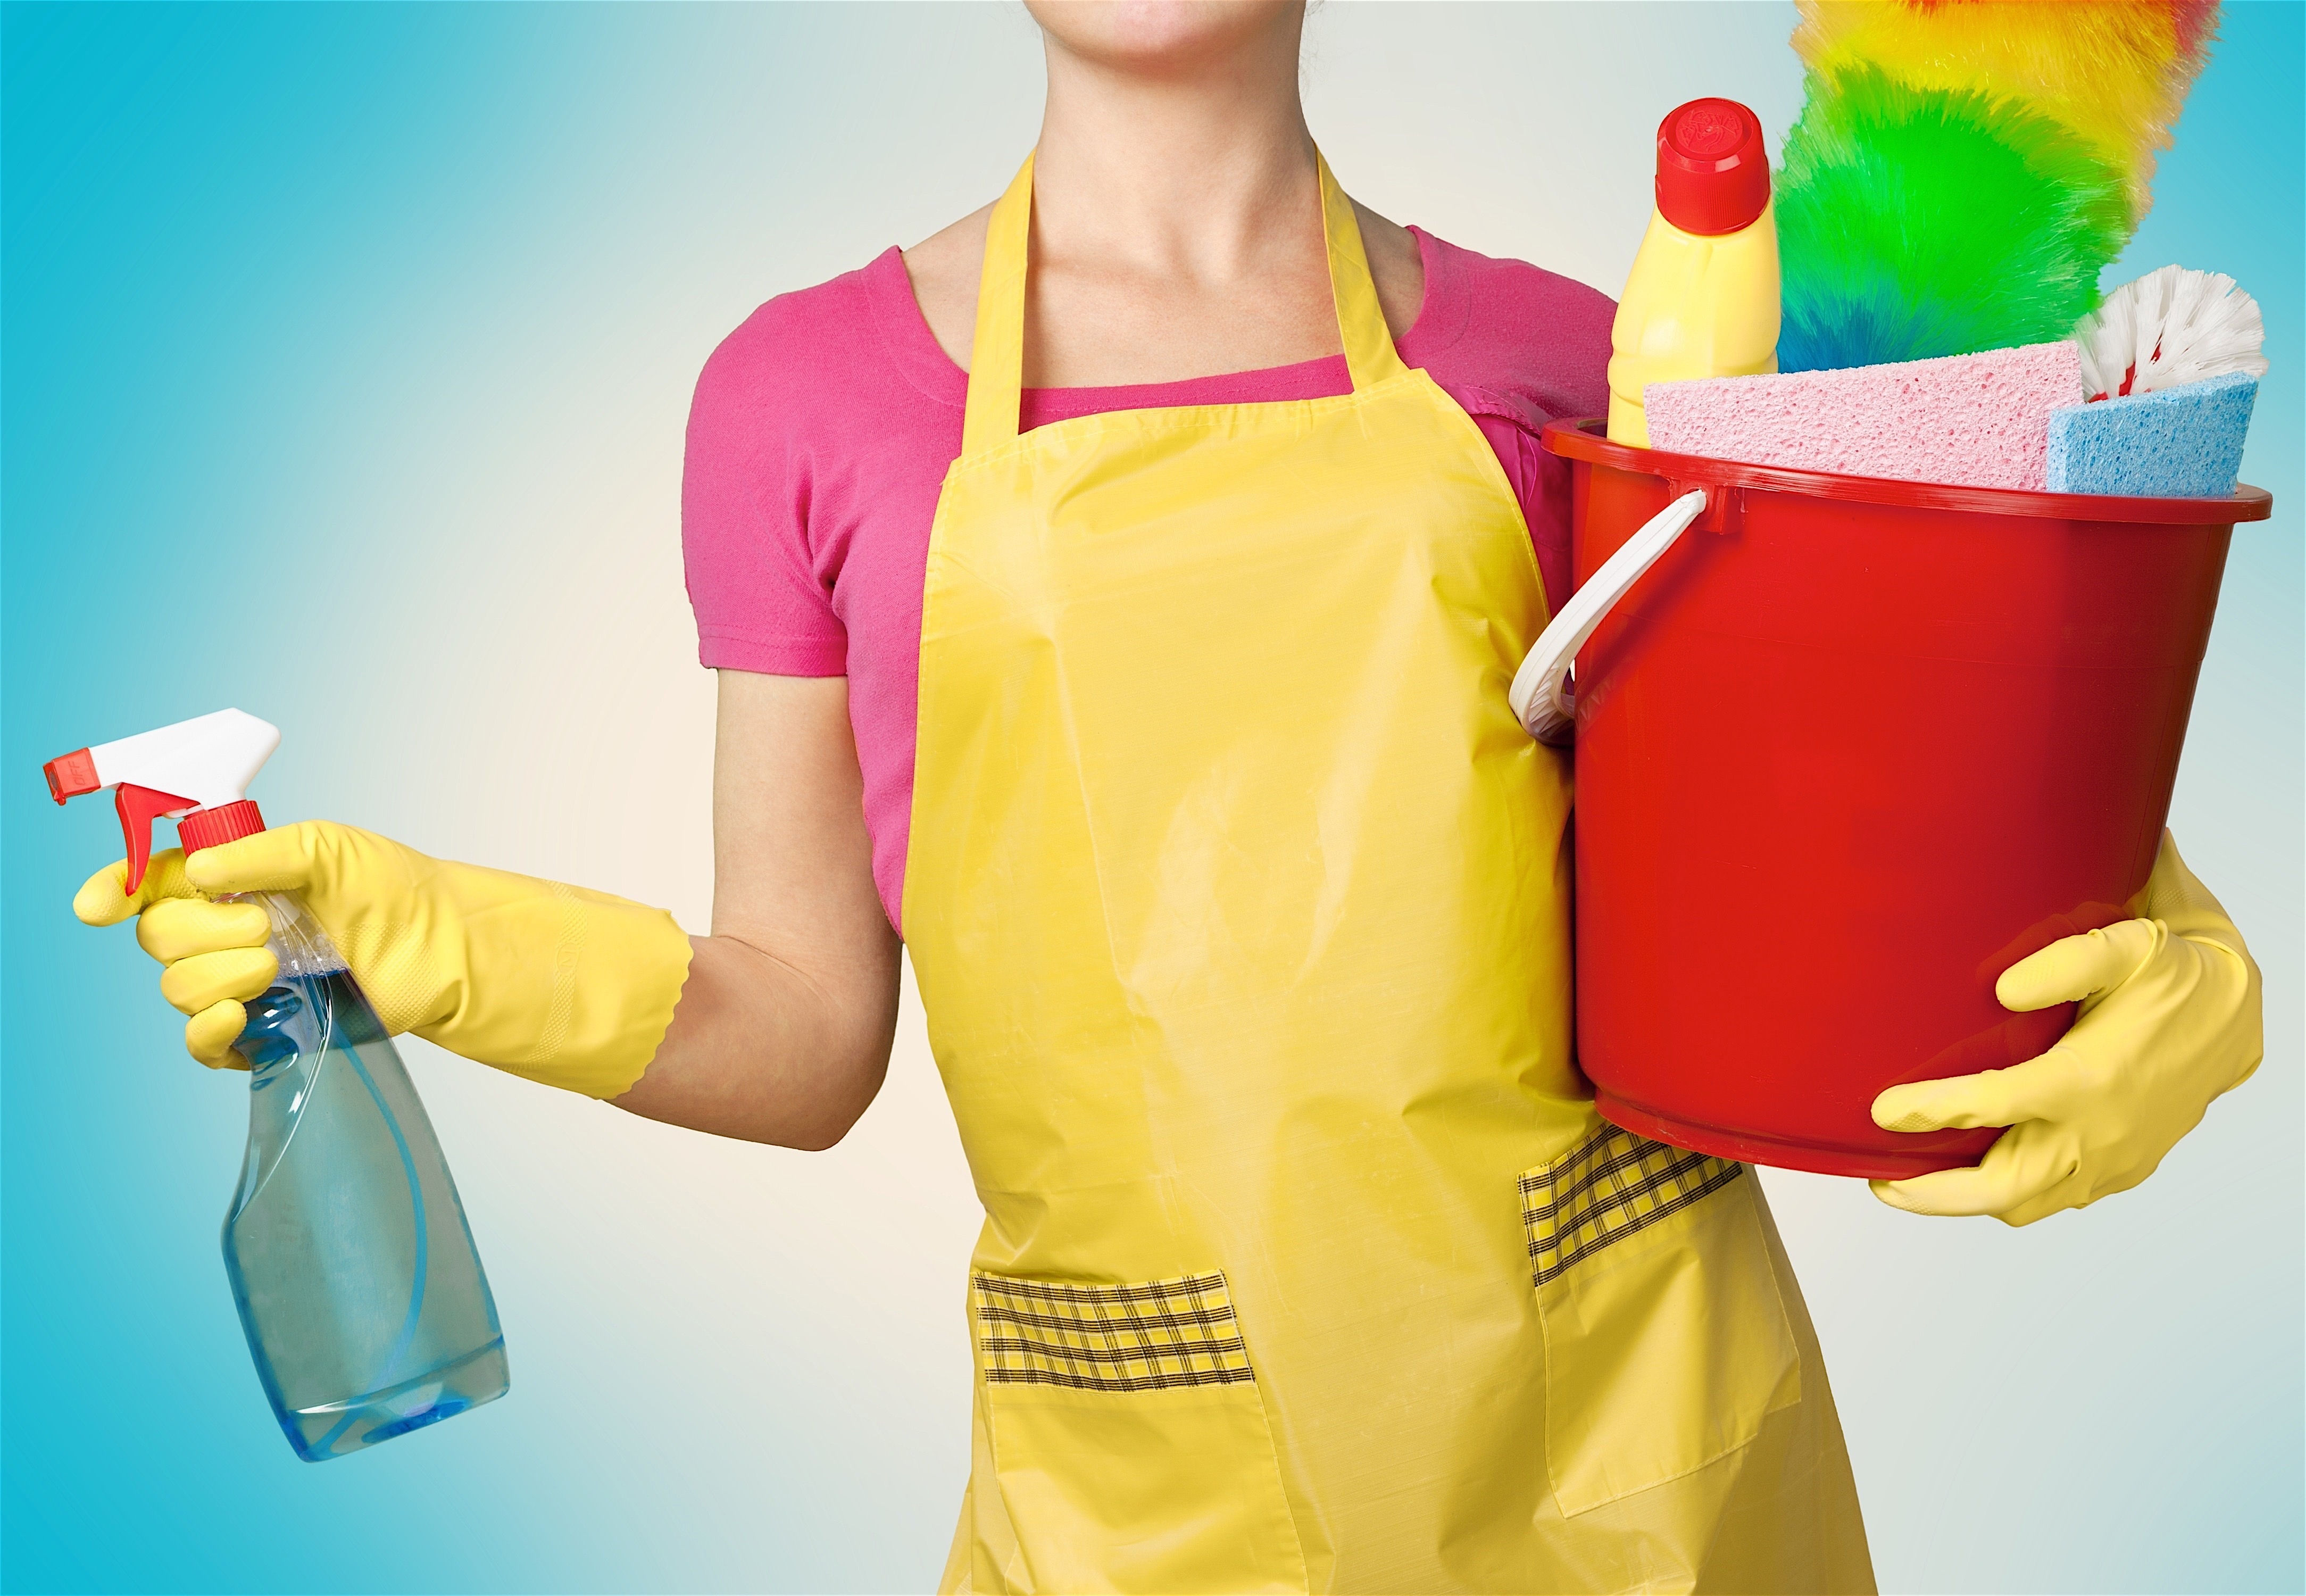
The tradition has carried on throughout the years, not to guilt homeowners into days of cleaning, but rather to encourage a fresh (and clean) start to a new season, which is especially important if you plan to sell your home in the near future. With proper planning and our ultimate spring cleaning checklist, you’ll be ready to throw on those plastic yellow gloves (still hiding under your sink from last year’s spring cleaning) and get to work.
Spring Cleaning Checklist Part 1: The Preparation
The thought of deep cleaning your entire home can be daunting, which is why most people avoid the task altogether. However, we’ve all heard the saying “proper planning prevents poor performance,” which holds true when it comes to spring cleaning. Tackling a project as big as spring cleaning can not be completed successfully on a whim. If you truly want to commit to sanitizing every nook and cranny in your house, having a plan is essential.
Start by creating a list of priorities. Don’t worry, you’ll still be hitting every room in the house, but certain areas (i.e. the bathtub, window sills, or kitchen grout) might need a little more TLC. Accomplish these to-do’s during the week before you clean to set yourself up for success:
- Buy your favorite cleaning products: You won’t be excited to embark on your cleaning extravaganza with a five-year-old bottle of windex and half empty bleach. So head to the store and stock up on essentials.
- Make appointments in advance: Planning to get your carpets professionally cleaned or hardwood floors refinished? Just be sure to schedule your appointments ahead of time as to not interfere with your personal cleaning agenda.
- Create an upbeat playlist: Spring cleaning should not be liberating for just your home, it should also be a cathartic experience for yourself. Let decluttering feel good! Create a playlist of your favorite songs to keep you motivated and on task.
- Replace your linens: After months of dark and dreary whether, brighten up your home with fresh linens. Replace heavy curtains, blankets, and comforters with a lightweight alternative and your home will feel cleaner immediately.
- Throw it away: Haven’t worn it in six months? Haven’t cooked with it for over a year? Get rid of it! Even better, donate it! Take some advice from decluttering expert Marie Kondo and toss away items that no longer “spark joy” in your life.
Keep in mind, a thorough spring cleaning will likely take more than a day, or even an entire weekend, which is why putting everything in writing is the only way to help keep you on task. Remember, it is okay to start small. Busy work week? Overbooked mom? Commit to completing three tasks every day and by the end of the month, your house will shine like brand new.
Spring Cleaning Checklist Part 2: Mistakes To Avoid
So this is the year you tell yourself “I’m going to do it right! I’m going to get into the nooks and crannies, stop avoiding the basement, and finally make enough room in the garage to park my cars.” But before diving elbow deep into dirt and grime, be sure to avoid these common blunders:
- Failing to plan ahead: We’ve already discussed the importance of having a plan, so just do it. Don’t waste your time flailing from one project to the next, completing only half of each one. Be specific. Plan out which rooms you’re going to clean, on which day and in which order. (Pro Tip: Tackle the hardest rooms first)
- Avoiding the deep clean: In the fashion of true spring cleaning, you’re going to have to get your hands dirty if you want results. Don’t avoid those hard to reach areas like ceiling fan blades or under the fridge. When you do it right, you’ll feel accomplished.
- Hasty scrubbing: If you want all of your expensive cleaning products to reach their full potential, you must live by the mantra: spray and walk away. Shower mold, mineral deposits, dirty grout and rusty appliances are not impossible to clean. Just be sure to use your products as directed and let soap soak into your surfaces before scrubbing.
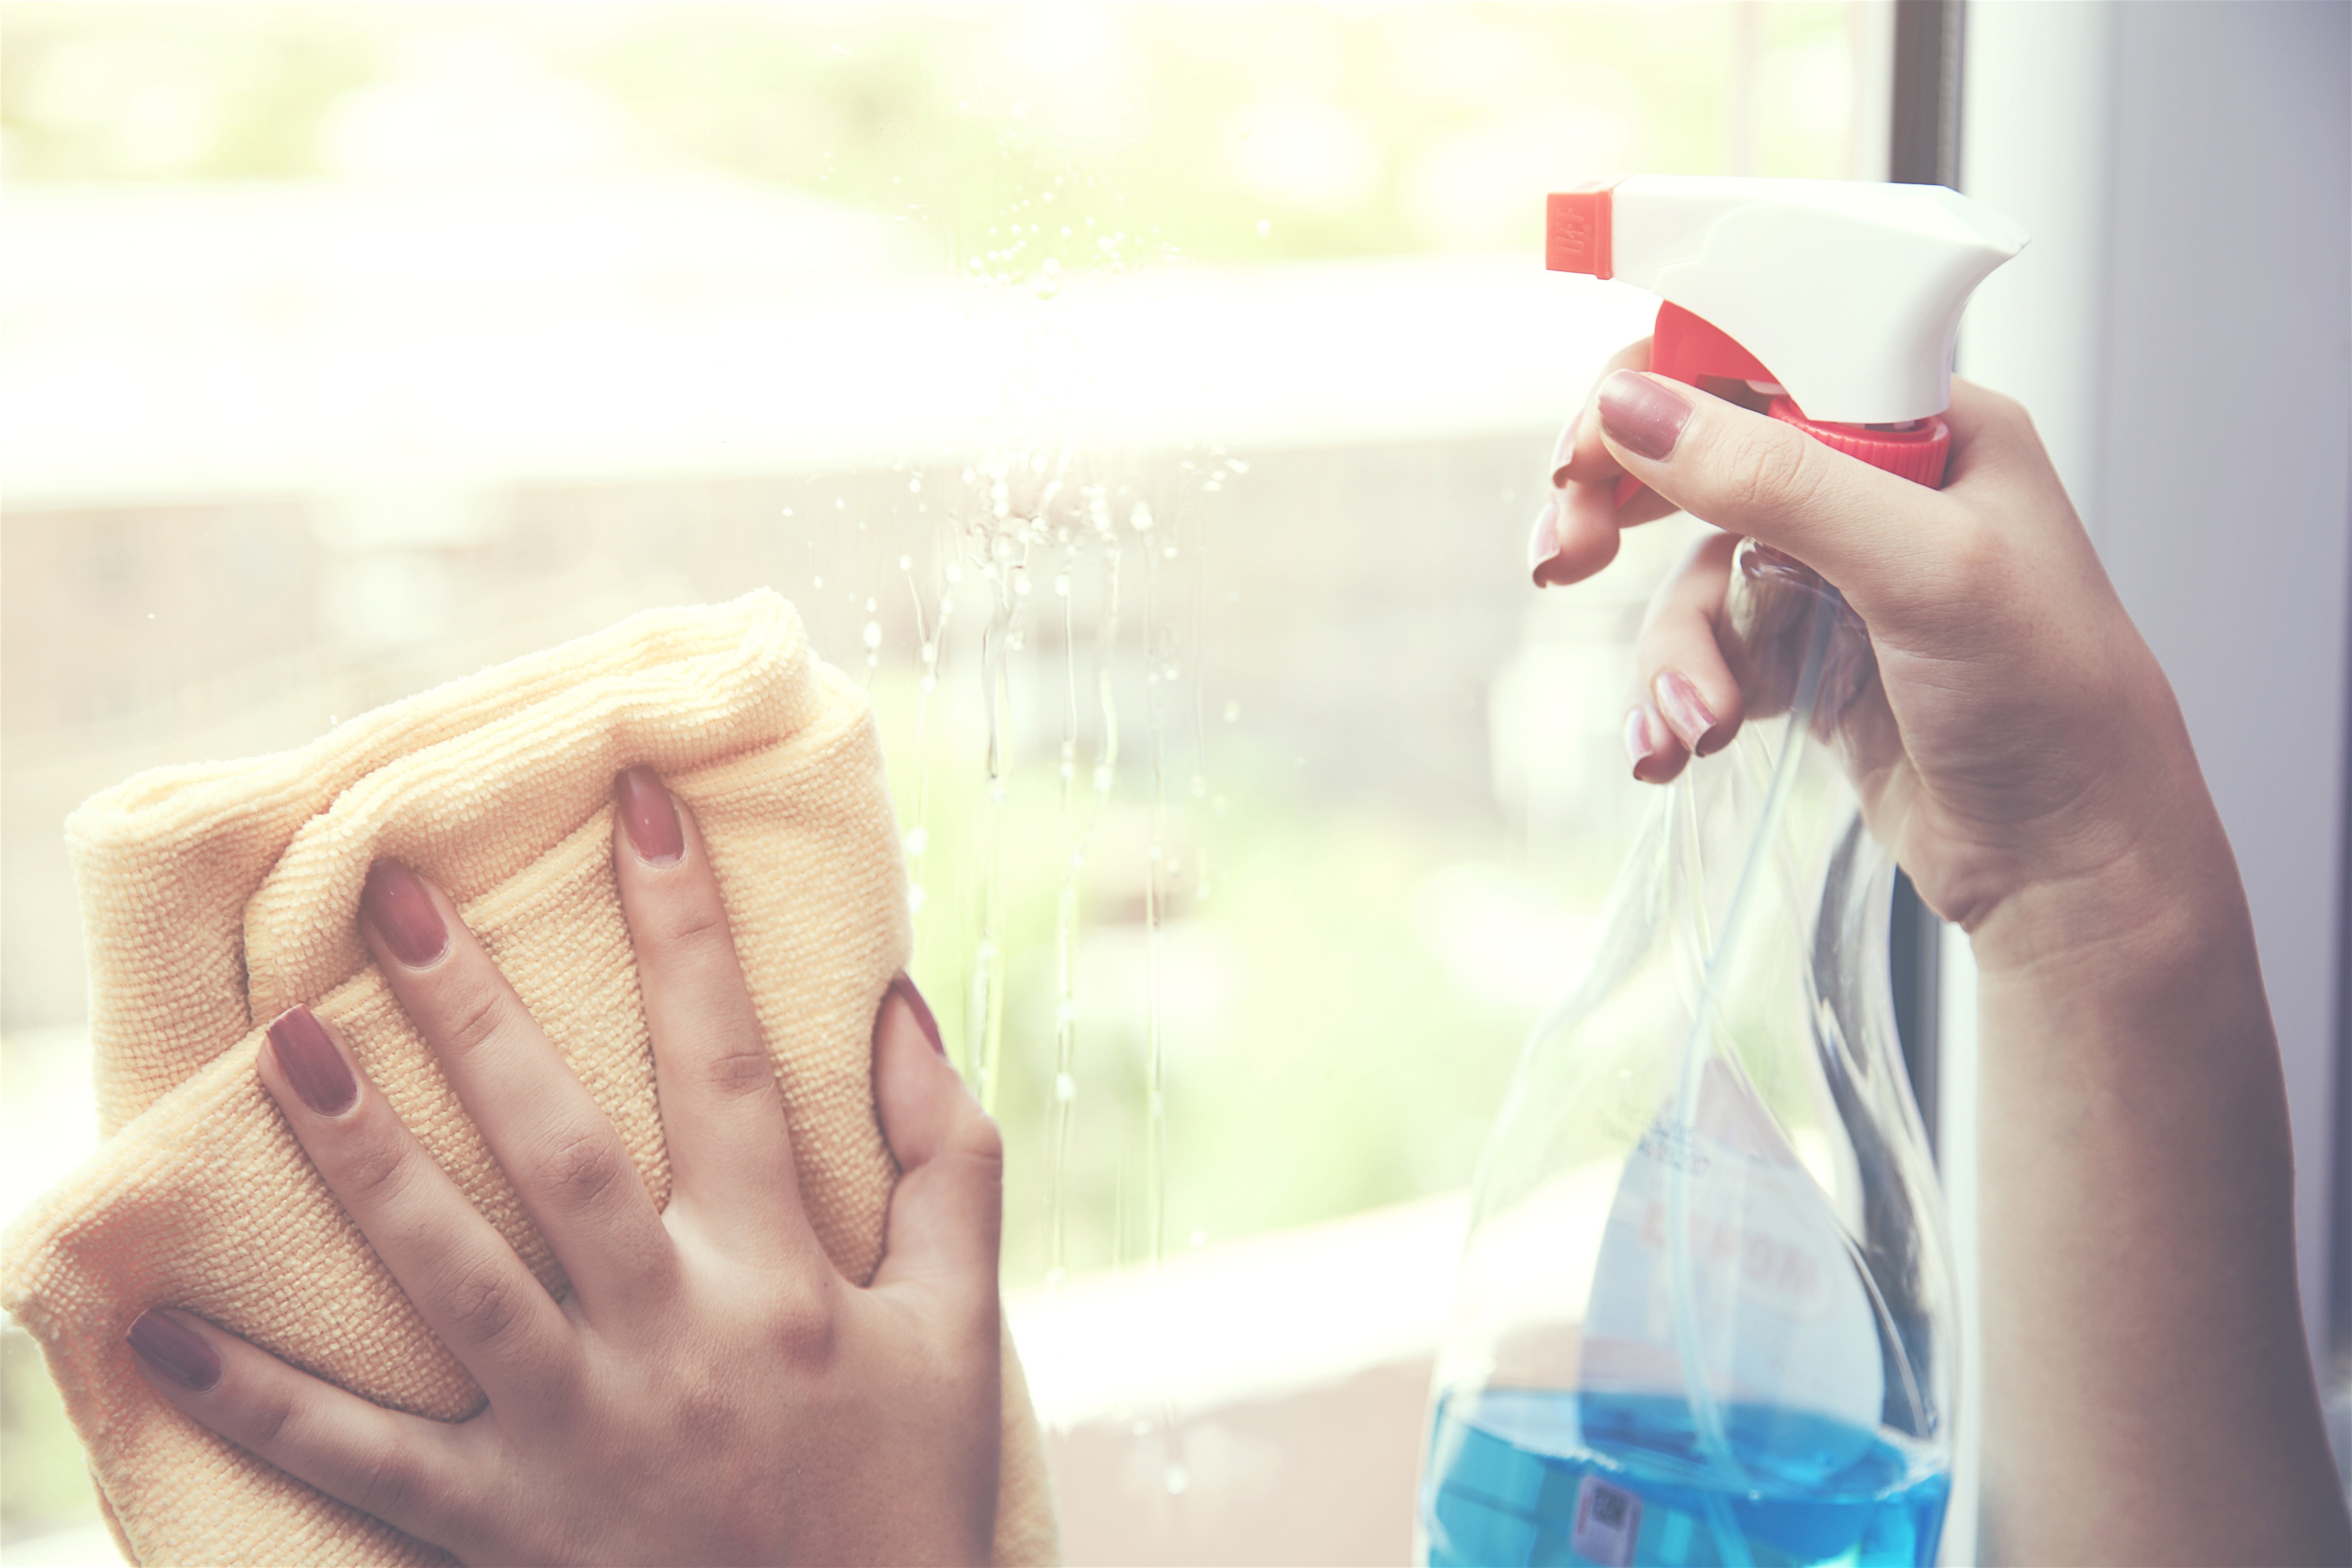
- Cleaning windows on a sunny day: Cleaning windows is a must to fulfill an authentic spring cleaning ritual, but if the sun is out, save this project for another day. Window cleaner dries far quicker in the heat, resulting in streak marks across your glass, no matter how hard you squeegee. So before tackling this task, wait until the temperature drops below 65 degrees.
Spring Cleaning Checklist Part 3: The Clean
You’ve bought your products, created your priority list, and have your music blasting. Let the cleaning begin! Keep this spring cleaning checklist with you as you move from room to room, and be sure to cross off each item before moving forward.
The Kitchen
The kitchen, also known as the heart of the home, goes through a lot of wear and tear. From expired food, to gnat infested cabinets, this room deserves a thorough scrub down.
- Remove the contents of every cabinet and drawer. Wipe down both the inside and outside of each space with detergent and a warm cloth. Organize and replace items back in their designated spaces.
- Sharpen knives.
- Deep clean cutting boards.
- Remove crumbs from toaster.
- Clean microwave and stove.
- Shine silverware
- Dust any displayed china.
- Dust light fixtures, blinds, ceiling fans, and window sills.
- Scrub the stove.
- Sweep and mop floors.
- Wipe down counters
- De-grease backsplash
- Shine faucet, sink, and clean the drain.
- Reseal grout if necessary.
Pro Tip: Start from the top and work your way down to avoid having to re-mop floors as a result of settling dust.
The Bathrooms
Because so much moisture is trapped in your bathroom on a daily basis, the room is a breeding ground for mold. Not to fear, your floor to ceiling clean will stop mold growth in its tracks.
- Scrub mirror with glass cleaner.
- Remove all items from vanity and scrub insides with detergent.
- Replace items back in vanity in an organized fashion and discard expired medicines and products.
- Clean toilet bowl
- Remove lid and set from toilet to scrub around seat bolts.
- Spray anti-mold cleaning agent on shower doors and walls.
- Wax bathtub.
- Shine faucets.
- Dust vent covers.
- Clear sink and shower drain.
- Clean window sills.
- Sweep and mop floors.
- Wash towels and bathmat in hot water.
Pro Tip: Keep a squeegee in your shower year round to prevent mold growth and mineral deposit build-up to simplify next year’s spring cleaning.
The Bedrooms
From the master bedroom where you spend a majority of your time to the guest room that receives little to no attention, bedrooms collect dust mites and deserve a full overhaul.
- For each drawer: remove items, dust, replace drawer liner, organize items and return nicely to their dedicated spaces.
- Donate items you no longer use.
- Launder bedding in hot water.
- Sprinkle baking soda on uncovered mattress, wait, and vacuum.
- Air out mattress pad.
- Vacuum under bed and behind dressers.
- Clean out closets.
Pro Tip: If you are uncomfortable using harsh cleaning products in your most intimate spaces, consider going “au naturel” with a DIY cleaner. A lemon juice and salt scrub or a vinegar and water mixture will get the job done.
Everywhere Else
- Open windows
- Vacuum dust from baseboards and scrub trim.
- Vacuum spider webs from corners.
- Deep clean carpets and rugs, refinish hardwood floors, and shine tile or linoleum surfaces.
- Dust window screens.
- Vacuum, sweep, mop (In that order).
- Spot clean walls.
- Dust art and light fixtures.
- Sweep porch.
- Replace welcome mat.
- Clean upholstered furnishings.
- Ensure fire safety by changing the batteries in smoke detectors.
Pro Tip: As you clean, make a list of things you notice you need or that need to be fixed (i.e. out of flour or a chip in the banister). Don’t look at this list until you have completed your entire spring cleaning.
Get Started Now!
Use this spring cleaning checklist to make your home look as stunning as the day you purchased it. Whether you plan to sell or simply want to enjoy a clean home, springtime is the perfect season to get the job done.