
Key Takeaways
- Tiling is one of the most profitable DIY skills a rehabber can exhibit. Just make sure each tile is level, as mistakes can stand out easily.
- Knowing how to paint, especially using the “cut in” technique, is a great way to add visual pizzazz to your rehab and save money at the same time.
- Minor electrical work, such as replacing outdated lighting or installing a new ceiling fan, is a great way to reduce your electrician bill and get much-needed work on your rehab.
Every beginner rehabber knows that the difference between profit and loss can be seen in one’s ability to cut rehab costs, which begs the question: What DIY skills can a first time investor bring to the table to reduce those construction costs and put more money in their pocket?
Tiling is one of the most beneficial DIY skills that a beginning rehabber can learn (though it’s important you do it right). Basic electrical, such as installing a ceiling fan, is something that can save you serious money. As well, the ability to paint (which requires little skill) is a great way to add some visual pizzazz to your property, without reaching deep into your wallet.
Let’s dig a little deeper into four DIY skills that every beginner rehabber can use to reduce expenses and boost profits.
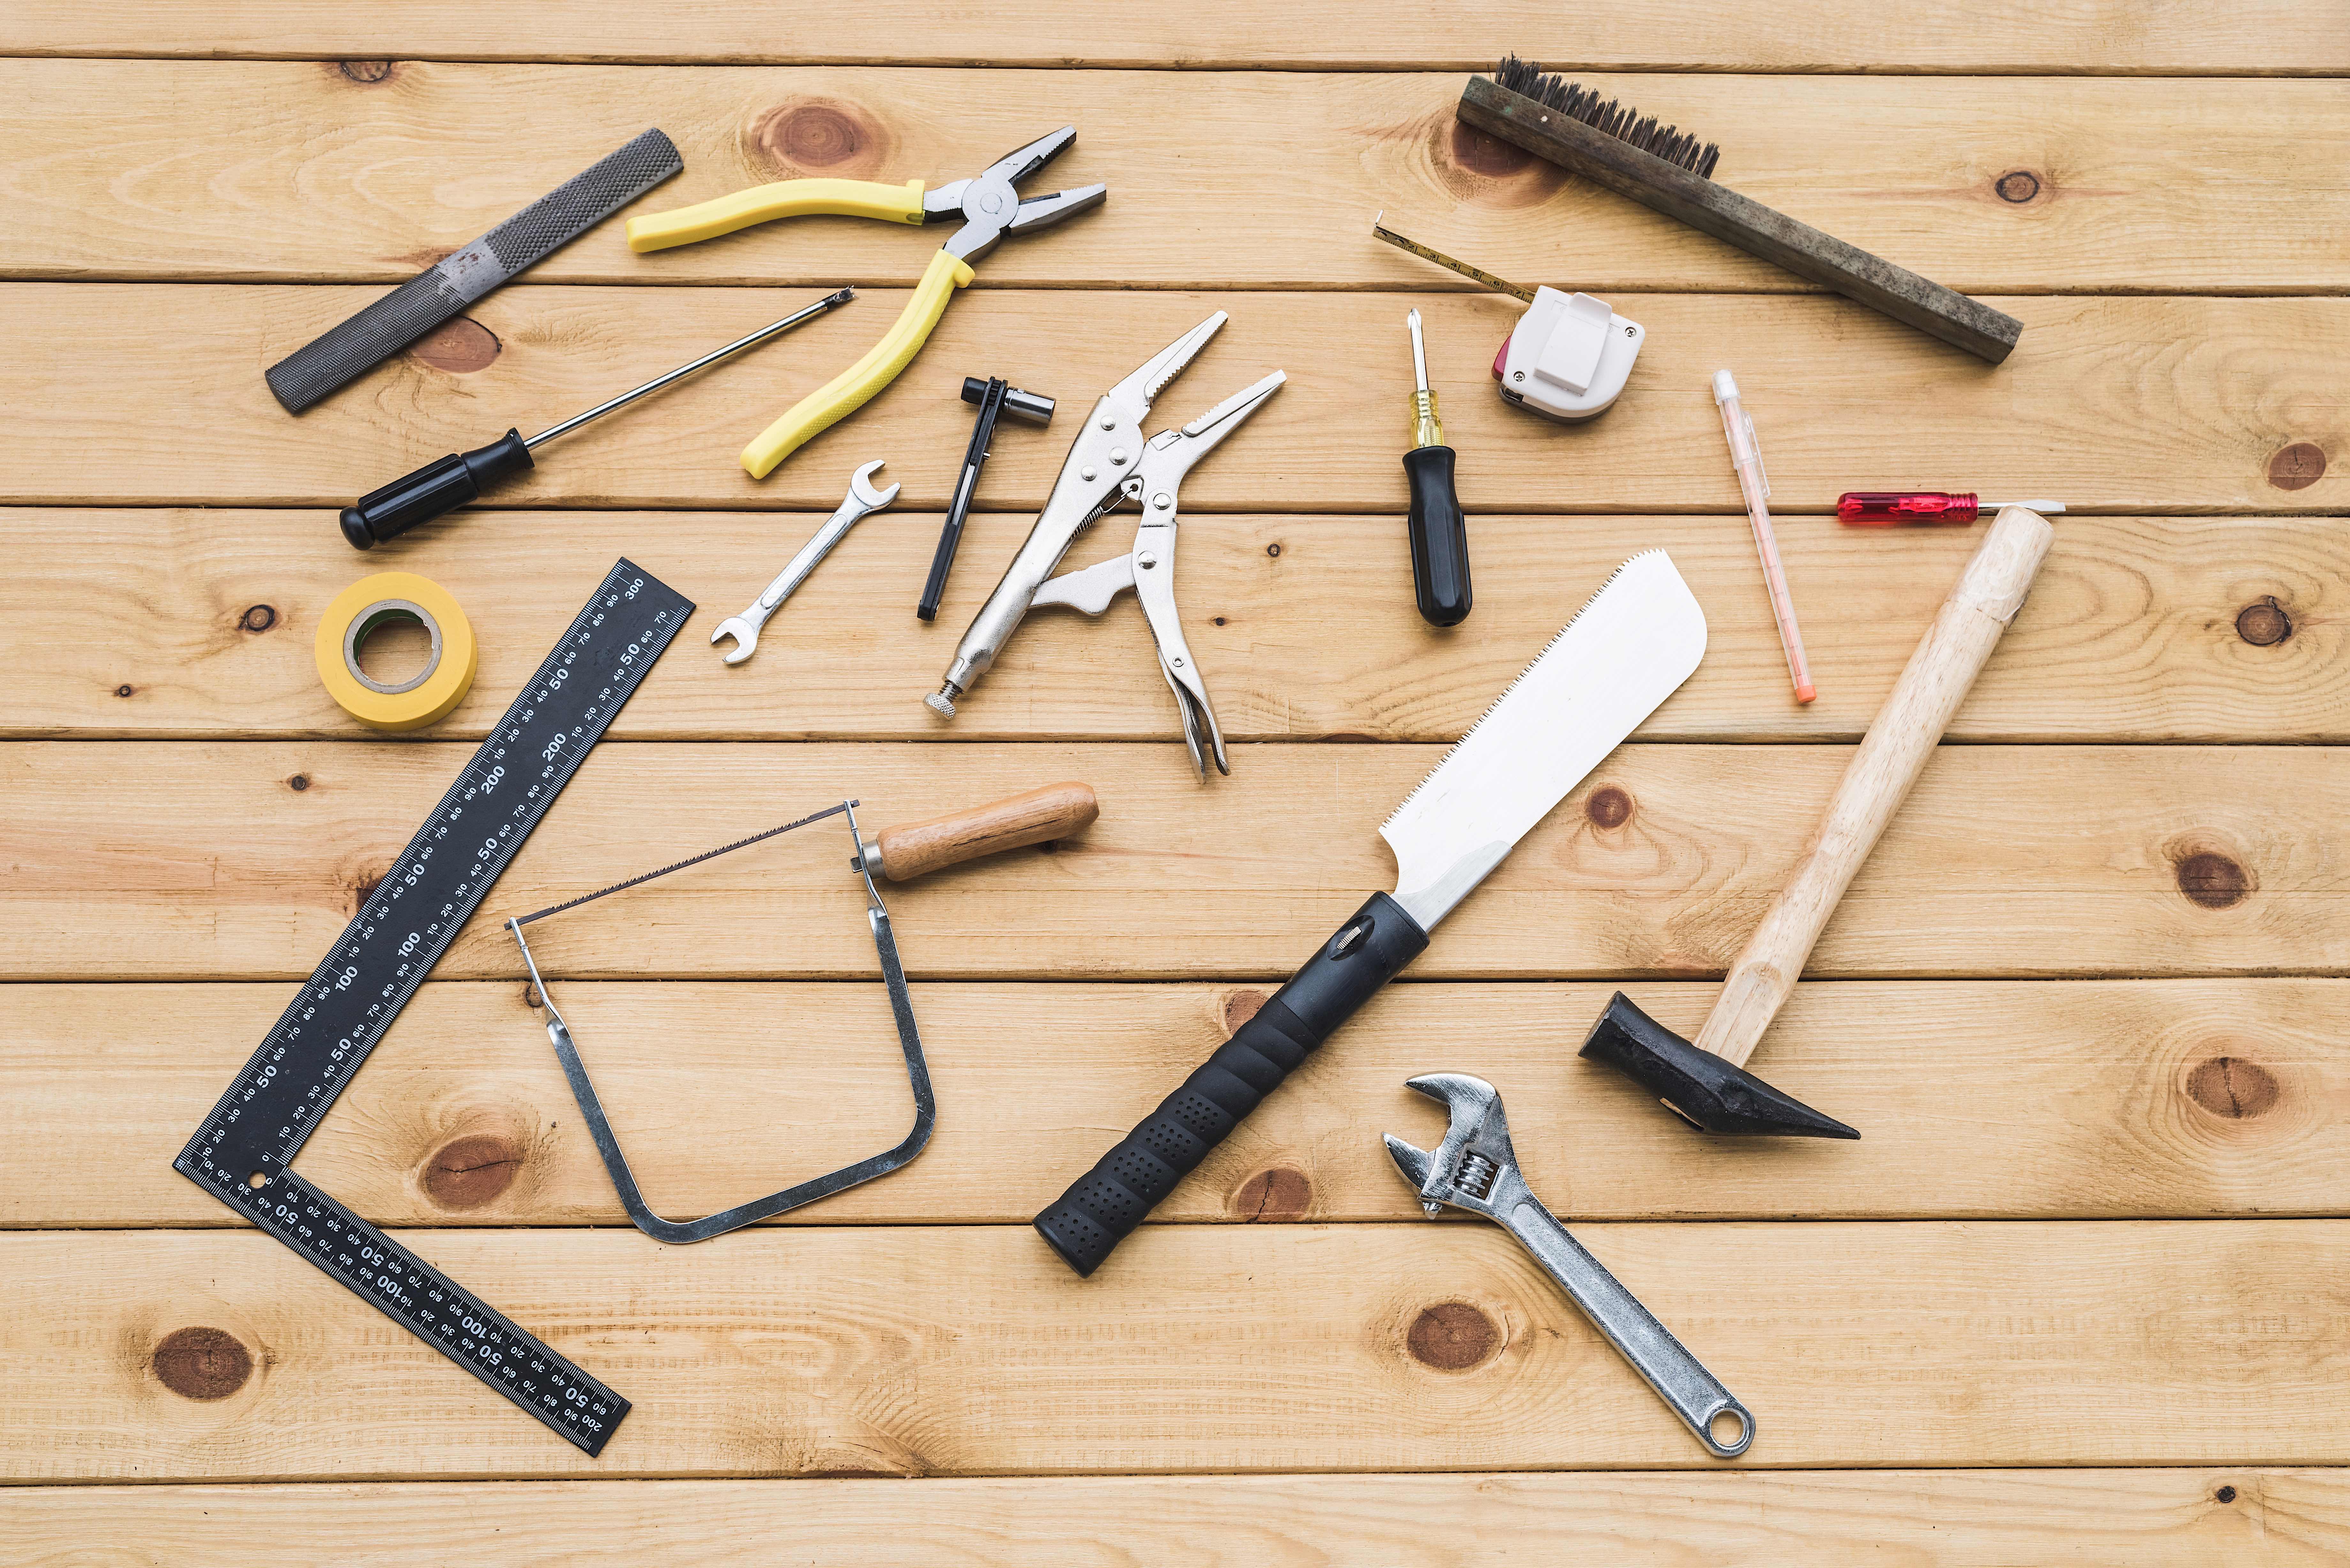
DIY Skills For The Beginner Rehabber
1. Tiling
Tiling may be one of the easiest DIY skills out there. It is also one of the most impactful, as learning it can save you a lot of money over the course of a property rehab.
This doesn’t mean you should jump right into tiling, with very little experience under your belt. A tile job done badly is very easy to identify, and when things don’t line up it can leave a bad impression for buyers.
One of the best ways to up your tiling game is to take a class at Lowe’s or Home Depot. Not only will they show you the ins and outs of tiling, but you’ll also be able to use their supplies and tools while you learn. When you’re done, you’ll know exactly what you need to get the job done.
Tiling Advice:
- Don’t be afraid to re-tile: If a particular tile doesn’t lay quite right, remove it and cut a new tile if you have to.
- Your level is your friend: Check that each and every tile is level before moving on to the next one, while the mastic is wet. Otherwise, things get much more complicated from there.
- Don’t use pre-mix in the shower: Though it comes pre-mixed, and it says it works in the shower, many pros know that mastic, the glue that holds tiles together, isn’t best in the shower when using a pre-mix.
2. Electrical
By electrical, we don’t mean major rewire work that requires 16 months of electrician training. But knowing the ins and outs of some basic electrical will save you money over the course of a real estate rehab from having to hire an expensive electrician.
Simple things like installing a ceiling fan or refreshing that indoor lighting from 1976 is a great set of electrical jobs that you could do on your rehab. To learn how, head over to your local library or check out a couple of YouTube videos to get you up to speed.
Electrical Advice:
- Identify wires: It’s a challenge to figure them out later. Google “electricians code” to find out the best way to label wires in your rehab.
- Always test wires before touching: Testers are cheap and easy to use, but they don’t do much good in your pocket. Be sure to use them any time you’re working with a wire.
- When in doubt, get a pro: If you’re not sure if you should handle a electrical job, best to hand it off to a professional.
3. Painting
The nice part about painting, besides the fact that it can really boost the visual appeal of a property, is that painting requires very little skill for even the most DIY-challenged of rehabbers. Once you learn the principles of painting, and acquire the proper tools, it’s simply a matter of choosing a color, rolling up your sleeves, and getting to work.
With more than 65,000 YouTube painting tutorial videos it’s pretty clear that different people have different painting strategies. Some like to start with the edges and then paint the rest of the wall. Others like to start with the base and work out toward the edges.
It’s mostly a matter of trial and error, and some patience, but well worth the effort when you consider the return on your rehab property investment.
Painting Advice:
- Learn how to “cut in”: Instead of taping off edges, a better strategy is to use a paint brush to “cut into” corners. Doing so maintains a much-more even look.
- Wait for dry weather: Humidity can slow drying.
- Don’t skimp on brushes: You’re already spending a considerable amount of money on the paint, so why not ensure it looks it’s best by getting the best supplies possible.
Working With Your Hands
This isn’t to suggest that your aim should be to spend every waking hour of your free time doing rehab improvements or roaming the aisles of Home Depot, but that boosting your DIY game as a beginner rehabber, and picking your opportunities, can help reduce your operating expenses and let you keep more of the money you earn.
Have you come across any skills that would be better for a beginner rehabber to learn? Perhaps you have already complemented your rehabbing acumen with an entirely different set of skills. Whatever the case may be, please feel free to share what has worked best for you in the comments below.